How to use chef’s choice electric knife sharpener: Unlock Razor-Sharp’s Precision
A dull knife can be not just a cause of irritation in the kitchen, it could be dangerous. Blades that are dull require greater force to cut, thereby increasing the possibility of sliding and causing injuries to yourself. That’s where a trusted electric knife sharpener is essential and restores your blades back to their original luster and making sure you are safe and efficient in food preparation. This guide will focus on the ever-popular Chef’s Choice electric knife sharpeners that are renowned for their ease of use and efficiency.
Understanding Stages and Slots
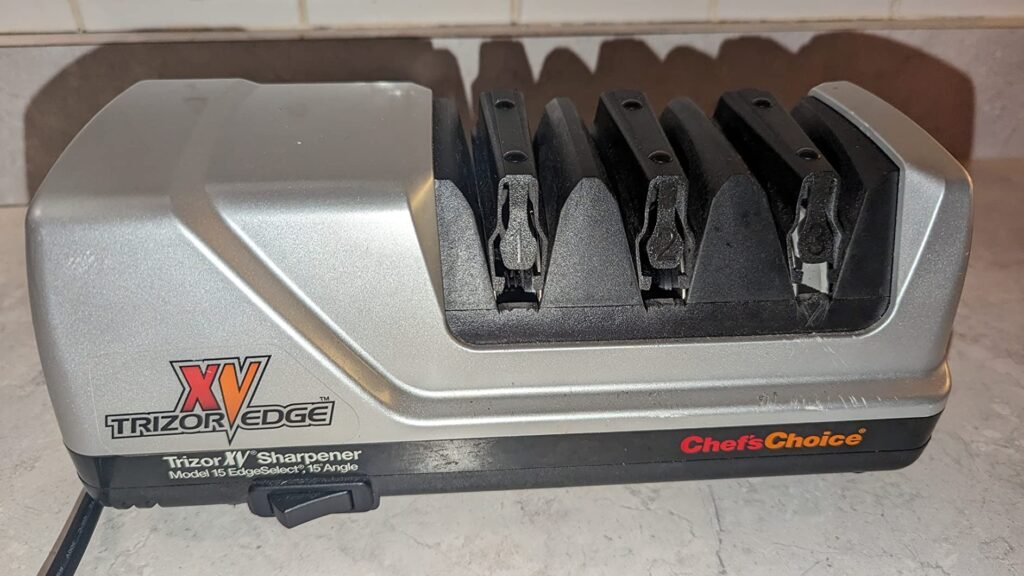
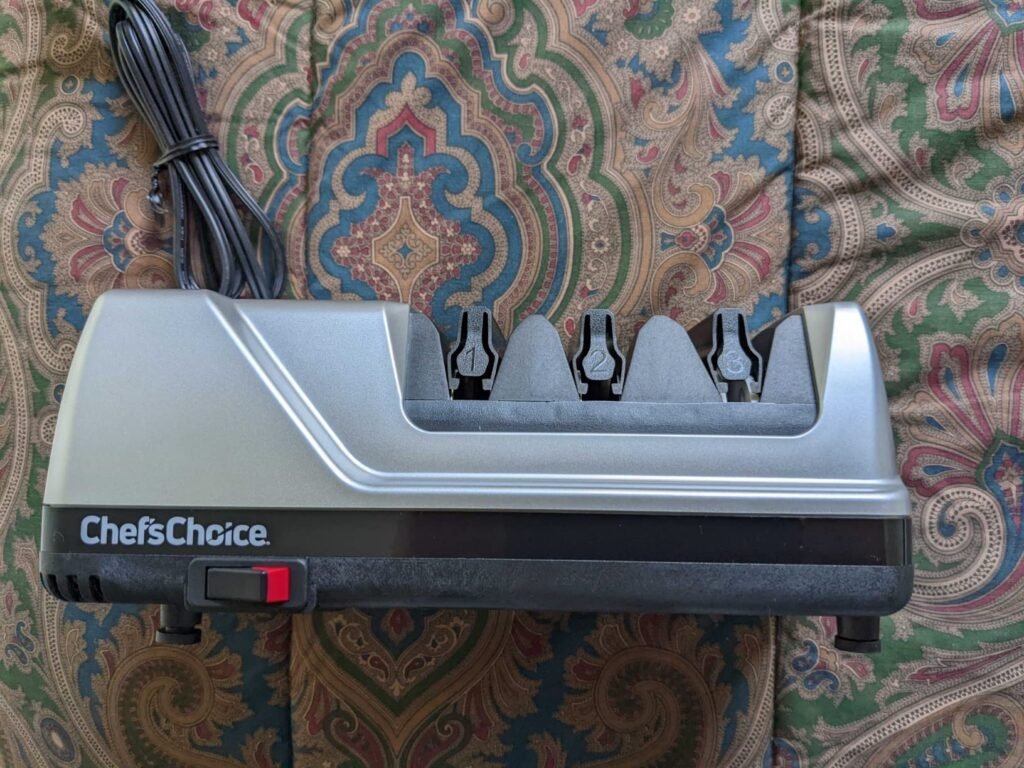
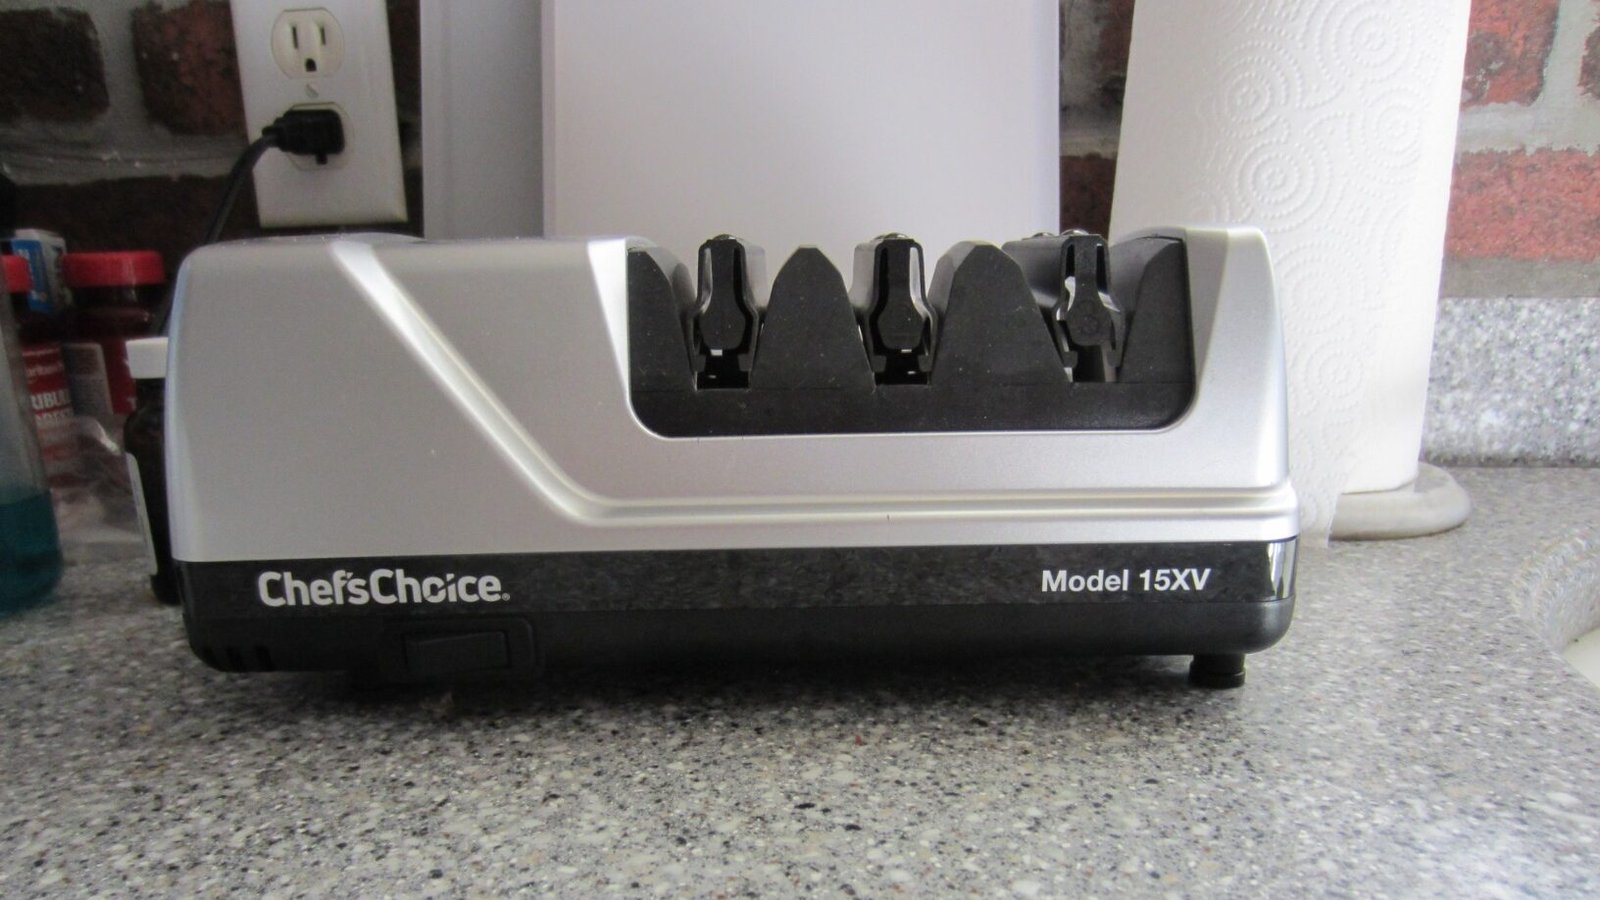
The Chef’s Choice electric sharpeners generally employ a three-stage sharpening procedure each stage being represented by a specific space on the sharpener. This is a brief overview of each step:
| Stage | Function | Slot |
| Stage 1: Sharpening | This step removes nicks and burrs off the blade’s edge. This creates a fresh, first bevel. | Coarse diamond Abrasives (Slot 1) |
| Stage 2: Honing | It refines the edge made in Stage 1. It also refines the bevel, making it more sharp and smoothing the edges. | Diamond abrasives made of fine diamond (Slot 2) |
| Stage 3: Polishing | This last step polishes the sharpened edge, resulting in an extremely smooth and sharp blade that is easy to slice. | Ceramic honing discs (Slot 3) |
Preparing Your Chef’s Choice Sharpener
Before you dive in, make sure the sharpener is powered on and securely set on a solid surface. Chef’s Choice models generally do not require other preparations, like oil or water.

Sharpening Your Blades
- Find out the type of blade you have: Chef’s Choice sharpeners can be used with straight-edged or serrated blades. Some models however have particular settings for each type of blade. Check your user’s manual to determine if the model you’re using needs any adjustments to the type of blade you’re using to sharpen.
- Alignment of the guide: Find the rods for guide alignment inside the slots for sharpening. They will guide the blade to the right angle when sharpening. Make sure that the rods are aligned perfectly in relation to the sharp edge the blade.
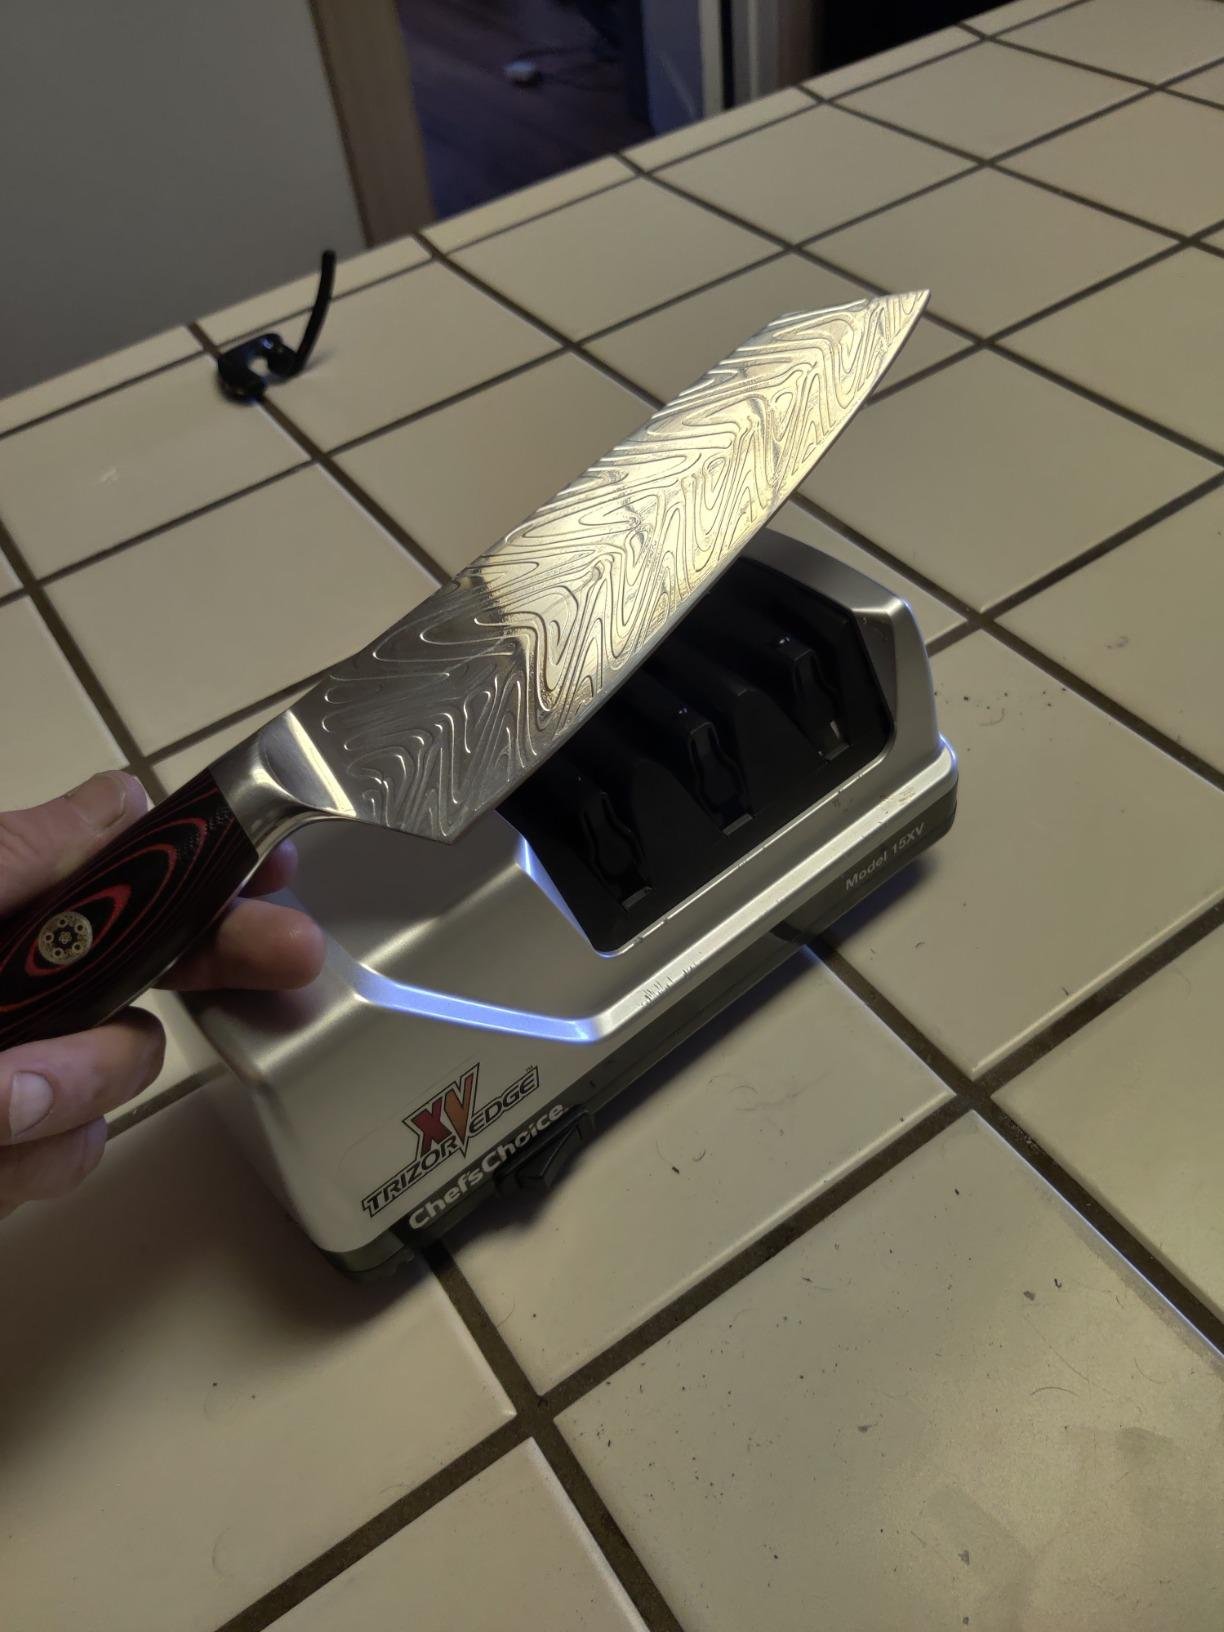
- Phase 1: Sharpening While holding the blade upright and with its cutting edges facing you, slowly slide across the entire width of the blade (from the base to the tip) into Slot 1 two to four times using a gentle and consistent pressure. You’ll probably hear the sound of grinding as the abrasives perform their magic.
- Examining for the presence of a Burr: After each run, look at on the edges of your knife (away of the edge cutting) to see if there is a slight burr (a tiny barely visible ridge). The burr will indicate that the initial sharpening process is completed.
- Phase 2: Honing Repeat the motion across Slot 2 two to four times, using identical pressure. Honing refines the edge to increase sharpness.
- Stage 3 Polishing (Optional) If you want to do the most precise polished edges (particularly with straight-edged knives) Simply slide your blade into Slot 3 two to four times. This creates an even edge, polished surface that is perfect for delicate cutting tasks.
- Continue for opposite sides: Repeat the entire procedure (Stages 3 – 4) for the opposite part of the blade.
Check Most Related Article in Kitchen Category: Smarttoolbuddy.com
Important Tips for Optimal Sharpening
- Maintain a consistent pressure: Avoid applying excessive pressure when moving the blade across the slots. Allow the abrasives to do the job.
- Maintain a consistent rate: Glide the blade with ease and at a slow speed. Do not rush through the process.
- Sharpen your knives regularly: It’s recommended to sharpen your knives using the Chef’s Choice sharpener every 1-2 months, based on the often you make use of the knives. Regularly sharpening increases the lifespan of your knives and guarantees maximum cutting efficiency.
- Check the user’s instruction manual for more information: Every Chef’s Choice model could have minor variations in their operation. Always consult your user manual for specific instructions and troubleshooting suggestions.
Safety Precautions
- Sharp knives are risky: Always handle sharpened knives with extreme care.
- Disconnect the Sharpener When the sharpener is not being used Unplug the sharpener to ensure security reasons.
- Stay away from kids: Store your sharpener and sharpened knives in a secured area, out of the children’s reach.

Maintaining Your Sharpener
Cleaning your chef’s Choice sharpener is vital to ensure maximum performance. Some models are equipped with disposable and replaceable abrasive discs and others require regular cleansing of guide rods as well as internal components. Consult your user guide for the specific maintenance guidelines for your specific model.
Sharpening Serrated Knives
Even though Chef’s Choice sharpeners can handle serrated blades, the procedure differs a bit. Most often, only the last phase of polishing (Slot 3.) is employed to sharpen serrated blades. Refer to your user manual for more specific guidelines on sharpening serrated blades your particular model
Frequently Asked Questions About Utilizing Electric Knife Sharpeners (Specifically Chef’s Choice)
How do I use my electric knife sharpener?
This is a step-by-step tutorial on how to use the Chef’s Choice electric knife sharpener
- Sharpener to be used: Ensure it’s plugged into and set on a surface that is stable.
- Determine the type of blade: Check your user manual to determine if your sharpener comes with specific settings for straight-edged and serrated blades.
- Guidance alignment Place the rods that guide you in the slots for sharpening to edges of the blade.
- Stage 1 Enhancing the sharpness: Slide the edge (base to the tip) across Slot 1 (coarse Abrasives) 2-3 times, using moderate pressure. Look for the presence of a Burr (tiny edge) in the reverse edge at the end of each slide.
- Second Stage: Honing Repeat the motion of gliding through Slot 2 (finer abrasives) 2 to 4 times.
- Stage 3 polishing (Optional): For extremely fine edges, slide your blade into Slot 3 (ceramic discs) 2-3 time (mostly to sharpen straight edges).
- Repeat for the second edge: Sharpen the other side of the blade with the same method.

How to use an electric knife step by step?
The following instructions describe the procedure specific to Chef’s Choice electric knife sharpeners. However, the principles apply to most electronic knife sharpeners. Always consult the manual of your user for specific guidelines for your particular model.
Here are a few additional things to take into consideration:
- Maintain a consistent tension and velocity. Don’t force the blade.
- Refer to the user’s guide: Every model might be slightly different.
- Security first. Remove the plug from your sharpener when it is not in use, and put away sharp knives in a safe manner.
What is the correct way to use a knife sharpener?
The right method is dependent on the type of sharpener (electric as well as manual) as well as the model. But there are some general rules that are applicable:
- Identify your blade type.
- Make sure the blade is aligned correctly in the sharpening guides.
- Maintain a consistent pressure and speed, while sharpening.
- See the user’s manual to find specific safety guidelines and instructions.
Do chef’s choice sharpeners work?
It’s true, Chef’s Choice electric knife sharpeners are generally praised for their efficiency and ease of use. They employ an extensive sharpening procedure that will restore dull blades to a functional and sharp state.
These are other factors to be considered:
- Sharpener models and functions: Different models might be able to perform different tasks.
- Blade quality: Heavily damaged blades may necessitate professional sharpening.
- User method: Following proper sharpening methods is vital for optimum outcomes.
If you follow these tips and making use of this guideline and using your Chef’s Choice electric knife sharpener properly, you will be able to keep your knives sharp and make sure that you are safe and efficient in cooking in the kitchen.
Related Article :
https://smarttoolbuddy.com/the-kitchen-knife-specialist
Latest Article :
https://smarttoolbuddy.com/french-fry-frenzy-with-your-slicer-companion


Related Blogs
The Top 10 Best Litter Box for Multiple Cats
5 Best Dry Cat Food for Indoor Cats 2024
Affordable Bluetooth Projector for Gaming: The Best in 2024
The Best Soundbar for Music and Movies for Home Threaters
Stay Powered Up: The Best Portable Charger for iPhone 15 in 2024
The iPhone 15 Pro Max New Features: Comprehensive Features
Liquid Screen Protector vs Tempered Glass: Which is better in 2024
What is a Monkey Wrench: Complete Details
Guide to Cleaning Your Gatorade Bottle The Proper Way
How To Sharpen Garden Hoe: Real Guide to the problem
How to Use a Tack Hammer Nail it Every Time
Easy Ways on How to Clean Garden Tools at Home
Changing a Garden Cart Tire: Expert Hacks That Will Save You from $200+ in Repairs
How to Whisk Eggs: Easy Manual Techniques
Garden Fork Vs Pitchfork: Deciding Which Tool Will Meet Your Garden Needs
Conquering the Greens: How to Rake Artificial Grass
How Deep To Plant Daffodil Bulbs? A Simple Guide
How to Pick the Best Shovel for Digging in 2024
The best time to power rake your lawn
Why Your Kitchen Isn’t Complete Without an Acacia Cutting Board
How to Replace Trimmer Line in Bump Feed: Step-by-Step Guide
Perfect Make Matcha Without Whisk: The Ultimate Guide
10 Ways to Remove Snow from Driveway Without a Shovel: Innovative Snow Removal
The Ultimate Guide: How Many Wheelbarrows of Sand Per Bag of Cement
Don’t Make This Silly Mistake with Your 5 Uses of Garden Fork
Is a Spade and a Shovel the Same? Discover the Differences Here
Transform Your Garden with Stunning Garden Stake Ideas You’ll Love
The Best Home Gym Equipment you can get in 2024
The Best Home Gym Setups for Small Spaces
Shoot Like a Pro: The Best iPhone Filmmaking Kit
Are Bone Conduction Headphones Safe?